Photographing the night sky with landscape
Reading time approx. 3 minutes
Helpful?
Photographing the night sky with landscape
Reading time approx. 3 minutes
Helpful?
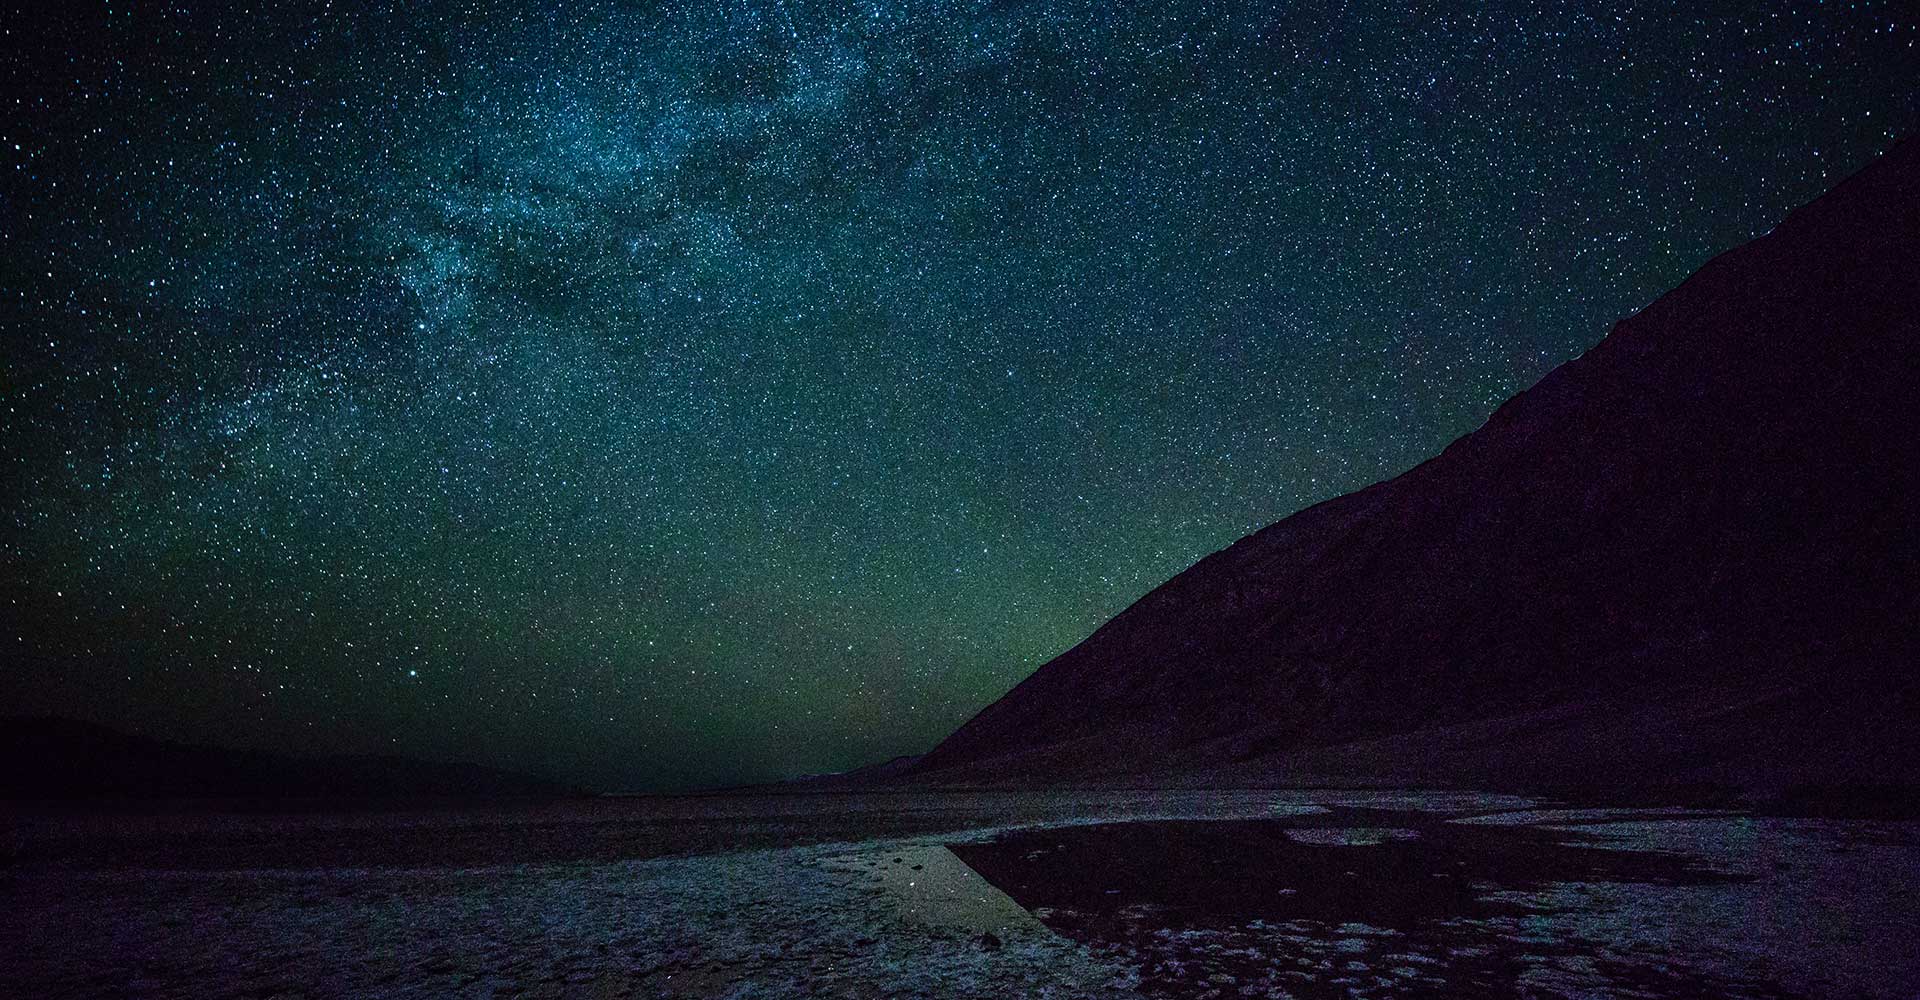
Camera model: EOS-1D X Mark II
Focal length: 16mm
F-number: 2.8
Exposure time: 30 sec
ISO: 1600
Want to shoot a landscape on a starry night?
Canon Academy trainer Petra Selbertinger shows you how in this expert tip.
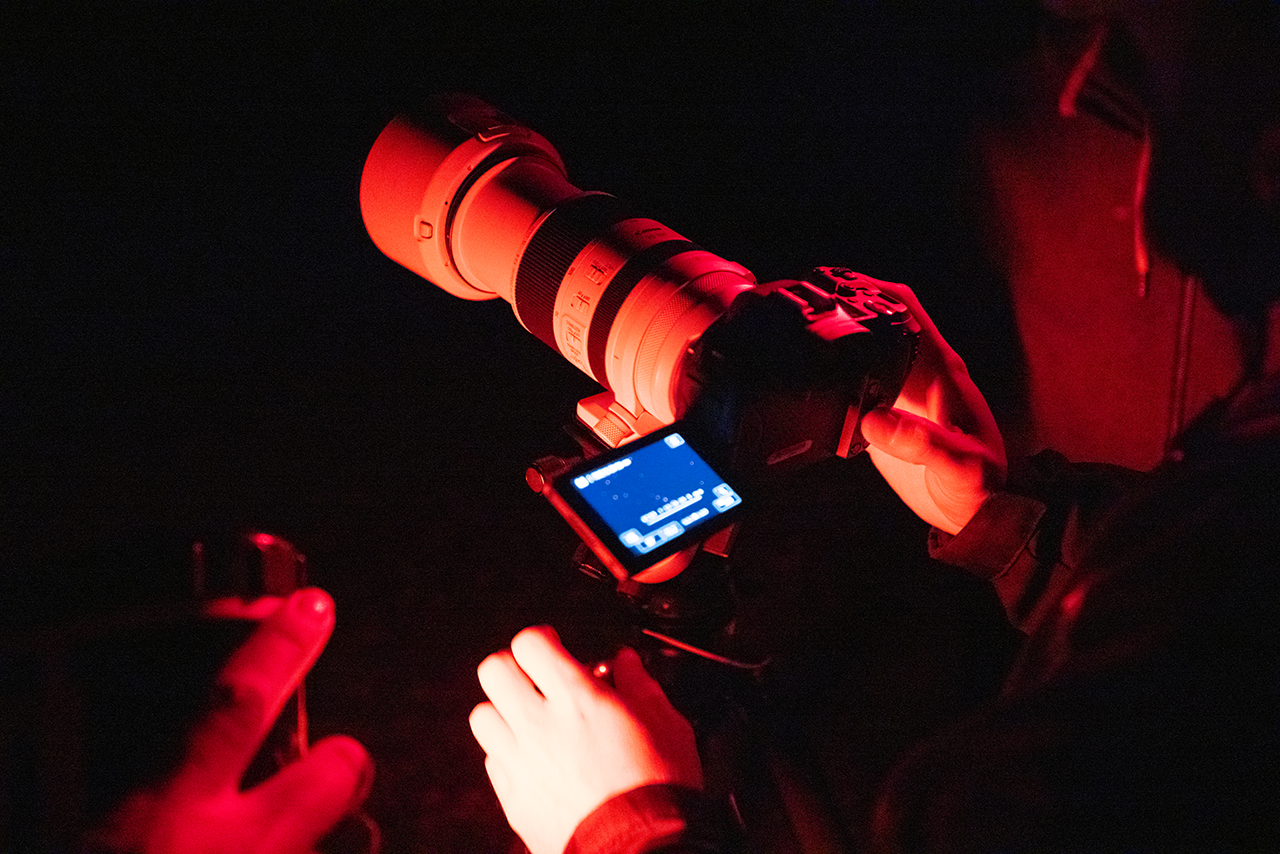
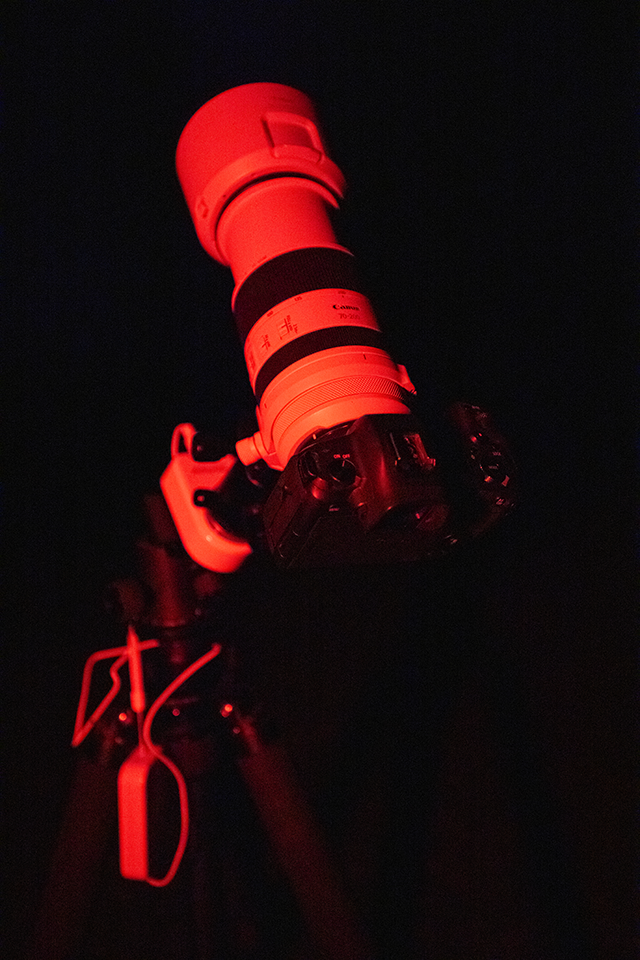
To reach for the stars, you'll need your EOS camera with a fast lens and a tripod. For night shots, choose M mode, which allows you to manually set the ISO, aperture and shutter speed. It is best to explore the location you want to photograph at night during the day so that you can find your way around in the dark. A moonless night with no moonlight, or a night when the moon has already set, is ideal for star photography. You can easily find this information on the Internet.
Exposure time
The earth is known to rotate. To ensure that the stars appear as round points of light rather than streaks, choose an exposure time that matches the focal length and sensor size. This sounds complicated, but it's not: if you have an EOS with a smaller APS-C sensor, calculate the exposure time using the formula "300 divided by focal length". If you have an EOS camera with a full-frame sensor, the simplified formula is "500 divided by focal length". Calculation examples: If you have an EOS 90D and an EF-S 18-55mm lens, set to 18mm for the shot, the calculation is 300:18=16.6. This means that with an exposure time of about 16 seconds, the stars will remain round and will not turn into streaks. With the EOS R and an RF 15-35mm F2.8L IS USM set to 15mm, the calculation is 500:15=33.3. For my photo, I used a full-frame camera with a 16mm focal length, so 30 seconds of exposure time was just right.
Aperture
Shutter speed is key: set the widest aperture, i.e. the smallest number possible, e.g. F2.8 or F3.5.
ISO sensitivity
The higher the ISO setting, the more stars you will see in your photo, as the increased sensitivity will allow darker stars to be seen in your photo. A good average is 1600 ISO. Take a few pictures at different ISO settings and then go back to your computer and see which one you like best. Unnecessarily high ISO values cause noise.
Focusing
Setting the focus is not easy when photographing the stars: if you want a landscape in the picture, you may be lucky enough to have a faint light in the distance that makes it easier to focus. You can also set the focus point during the day in bright light and mark the lens with (white) tape, then you are ready for the night shot. With Canon RF lenses, you should set the "Retract lens when switched off" item in the orange menu to "OFF" to save the focus.
Manual focus (flip the switch on the lens from "AF" to "MF") and the Live View viewfinder with magnifying glass function will help you to adjust the focus. If your EOS camera has the Focus Peaking function, you can use it as an aid. If the landscape is not too far away, a strong torch can also help you focus.
Other camera settings
To ensure that the mirror strike does not produce any blurring during your long exposure, it makes sense to take the picture in Live View mode or to set the mirror lock in the menu on EOS DSLR cameras. You should also set the self-timer for at least 2 seconds or release the shutter with a remote control or via your mobile phone using the free Canon Camera Connect App. The tripod on which your camera is mounted should be placed on a solid surface that will not transmit vibrations to the camera.
Please note: Light also enters the camera through the viewfinder. Avoid having bright light behind the camera when shooting. You can cover the viewfinder with a lens cleaning tissue or the rubber cover on the strap (DSLR cameras only).
On particularly cold winter days, you can freeze soap bubbles and make them look fantastic as delicate balls of ice.