How to visualise speed in sports and action photography
Reading time approx. 5 minutes
Helpful?
How to visualise speed in sports and action photography
Reading time approx. 5 minutes
Helpful?
A racing car photographed with an exposure time of 1/1,000 of a second doesn't show its speed. The movement is frozen, no trace of dynamism - even though the shot is technically perfectly exposed. You need a longer exposure time for a panning shot, which visualises the movement and dynamics of fast objects.
With the panning technique, you follow the main subject with your EOS camera. The longer exposure time and the panning will soften the background due to the motion blur, while the main subject remains sharp because you are following the camera synchronously. The longer the shutter speed, the blurrier the background. However, long exposure times will also blur your main subject. It is therefore important to find a good compromise depending on the speed of the subject. In motor sports, for example, the optimum exposure time is between 1/125 and ¼ second, depending on the speed of the racing car on that section of the track.
The easiest way to take a panning shot is to stand parallel to the moving subject and then follow the subject with the camera.
Stay focused
The high speed of the subject poses another problem: focusing. The solution lies in the AI Servo autofocus mode, which allows the camera to continuously focus on a moving subject. The highlight: the movement of the main subject is calculated and even the shutter release delay is taken into account for as long as the shutter release button is pressed halfway. With automatic autofocus field preselection, AI Servo initially uses the centre field. If the subject moves out of the centre of the frame, the other fields are automatically activated. On professional EOS models, you can set the number of AF points yourself using the MF button next to the shutter-release button. In this case, it is advisable to select several AF points or an AF group.
Custom settings and cases
Custom functions allow you to define additional AF settings and recall them easily when needed. These custom routines can be used to recall, for example, the preferred AF area, continuous AF tracking speed and other parameters at the touch of a button. Professional EOS cameras such as the EOS-1D X Mark III bundle these AF settings in so-called "Cases". These optimise the various AF parameters for typical tasks. Case 3, for example, is suitable as a basic setting in the case of panning shots.
Lens: Setting stabilisation in Mode 2
Panning shots can be achieved with almost any focal length. Some stabilised lenses offer a choice of stabilisation modes. Mode 2 stabilises only one image axis. This mode was specially designed for panning shots and is therefore the setting of choice.
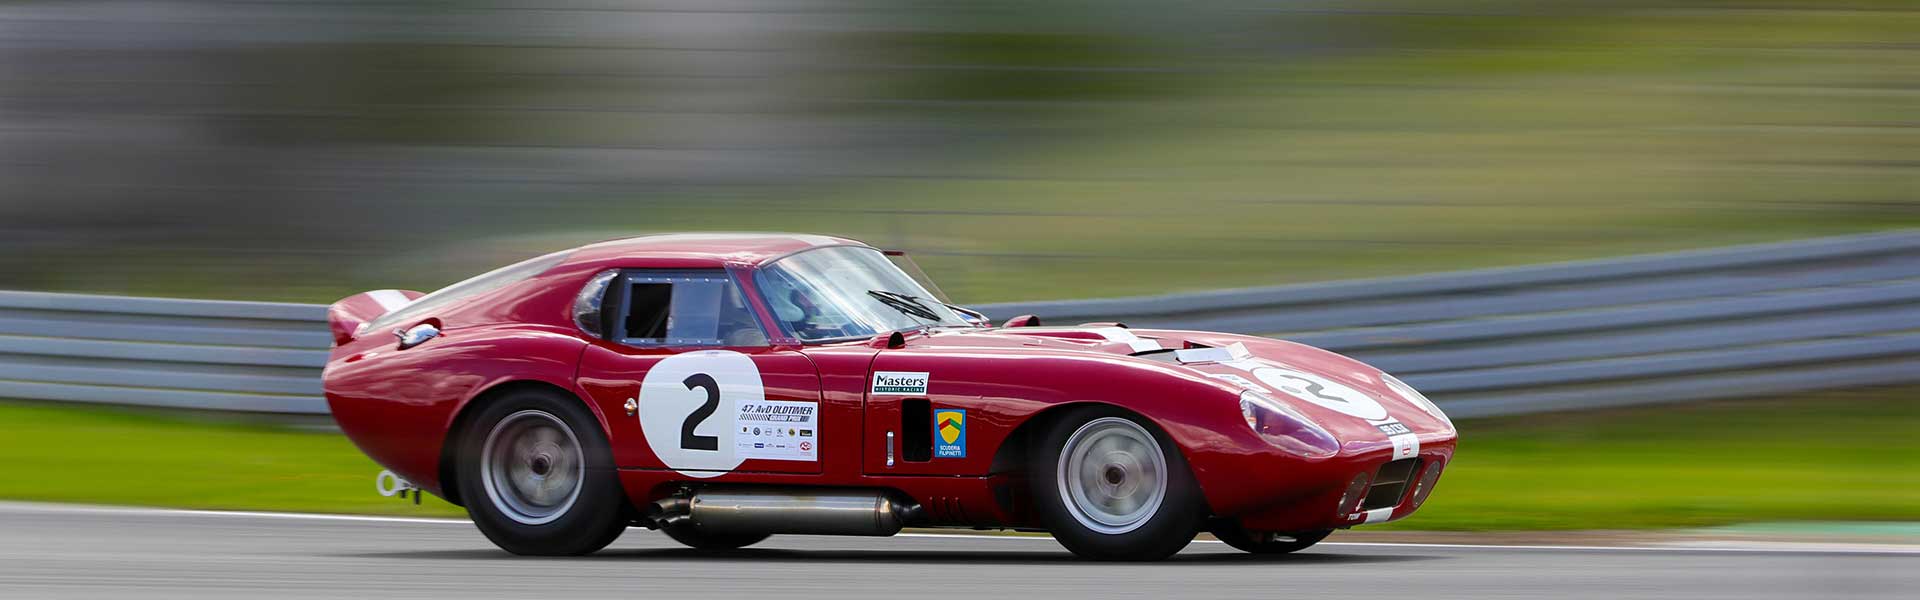
With a long exposure time, the background becomes blurred in a panning shot. The main subject remains sharp and in focus.
Be quick
Experience shows that you will produce a lot of waste in your first attempts, but this also happens to professionals. It is better to take lots of shots and use the fast continuous shooting function on your camera. Choose a large memory card with a fast write speed. Professional EOS models with appropriate memory cards can also process RAW data quickly, but JPEG format is sufficient for panning shots.

